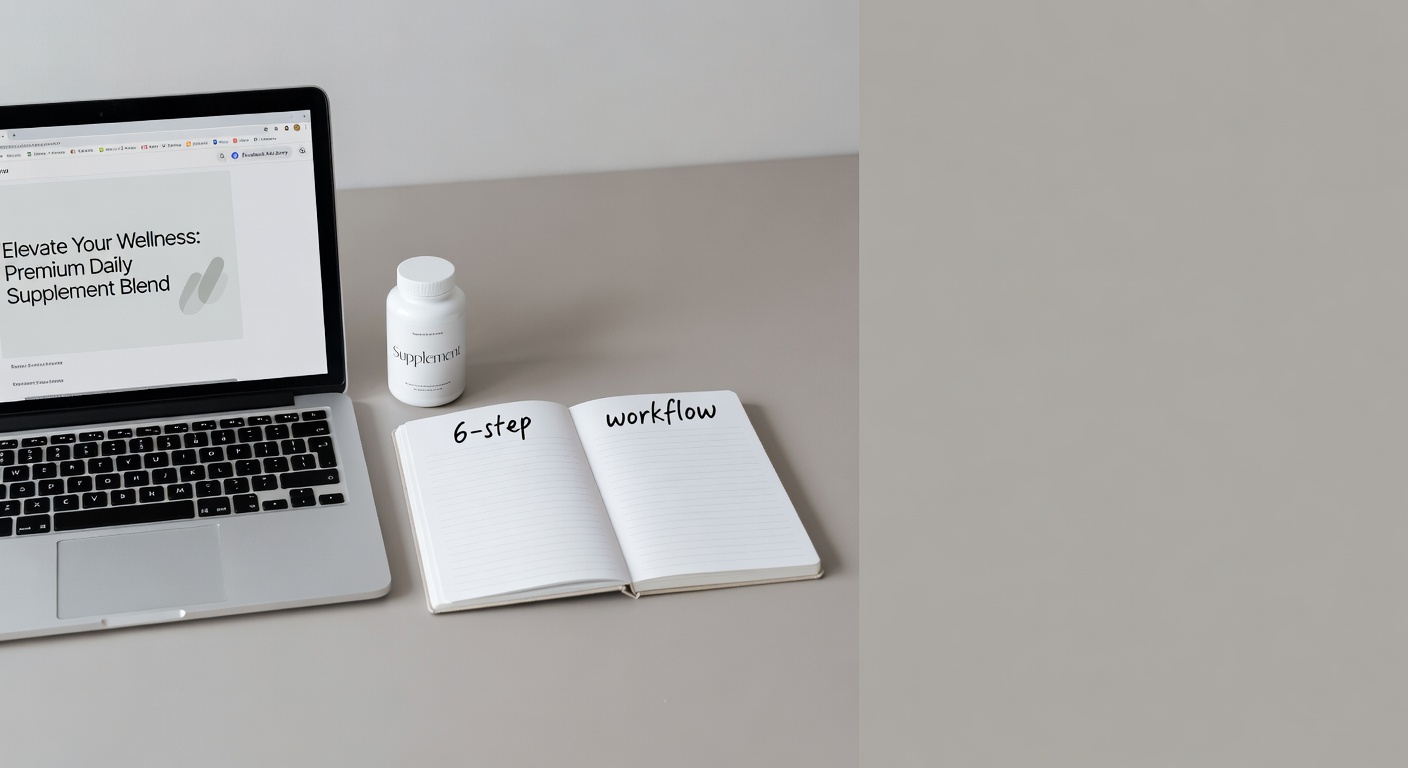
Direct Response advertorial images: a working 6-step example
How to go from a blank canvas to a conversion-ready advertorial image for supplements—using ChatGPT, Gemini, and one spy tool—without touching Photoshop.
Live today.
The full campaign — copy, images, targeting — generated for your site and deployed paused for your approval.
Most founders who run their own paid ads can write copy. The image is where the funnel stalls. Not because the concept is hard—because the production loop is broken: brief a designer, wait two days, get something that looks like a Shutterstock reject, iterate, repeat. By the time you have something usable, the test window has closed.
The workflow below collapses that loop to a few hours for repeat users—longer on a first pass, faster once the moodboard and prompts are established. It comes directly from work done inside the supplements and e-commerce space, where advertorial images have to do a specific job: make a health claim feel credible before the reader consciously decides to engage. The six steps are not theoretical. They are the exact sequence, with the exact prompts.
- Spy first. Run Facebook Ad Library searches in your niche. Images that have been running for months are a proxy for performance. Match that visual language, don't fight it.
- Copy before creative. Write the full advertorial, mark image placements, then brief the image—never the reverse.
- ChatGPT for concepts. Paste your copy section and moodboard references; ask for 3–5 image concepts with composition, colors, and realistic details described in prose.
- ChatGPT for rough drafts. Use those concepts as generation prompts. Run each 2–3 times. Expect rough—you're buying a starting point, not a finished asset.
- Gemini for polish. Upload the rough draft plus moodboard references. Gemini's image refinement adds surface realism that makes medical/clinical imagery feel trustworthy.
- Drop in, test, measure. Swap only the image between variants. One variable at a time produces signal; multiple changes produce noise.
Step 1 — Spy the style before you touch a prompt
The single most expensive mistake in advertorial creative is inventing a visual style from scratch. Someone in your category has already run real spend testing which images convert. You can read the survivors for free.
Two tools worth knowing:
- Facebook Ad Library — free, no account required for basic searches. Filter by country, search your category keyword ("hair growth supplement", "joint support", "sleep aid"), then look for ads with long run durations. An ad that has been live for several months without pausing is paying its way; that's your proxy for performance, since Meta doesn't publish spend data publicly.
- Foreplay.co — paid (around $49/month at time of writing), but it surfaces creative intel across platforms and lets you save swipe files organized by angle.
Save 5–6 reference images. Look specifically for:
- Tone: medical/clinical, before-and-after comparison, or science diagram?
- Color palette: cool blues and greens signal trust; reds signal urgency/threat
- Composition: centered product shot, split-panel transformation, or microscopic/molecular render?
This becomes your moodboard. Every downstream prompt references it. Without this step, you are guessing at what the audience already responds to.
Step 2 — Write the copy first
Images support copy. Copy does not support images. This sequence matters because the image's job is to illustrate the specific claim in the section it sits inside—not to look generally health-adjacent.
Draft your advertorial in the classic direct-response structure:
- Hook — the problem, made visceral
- Agitate — why it compounds, why ignoring it costs more
- Solution — your product's mechanism
- Proof — the science, the study, the before-and-after
- CTA — one action, no ambiguity
Once the draft is done, mark each section where an image belongs. Usually that's one image per major section—wherever a visual can make the claim more believable than text alone can.
For a DHT-blocking hair loss supplement, the proof section might read: "DHT binds to your hair follicles and miniaturizes them over time. Block the pathway, and the follicle survives." That sentence tells you exactly what the image needs to show. You cannot arrive at that brief if you generate images before writing.
Step 3 — Generate image concepts via ChatGPT
You are not generating an image yet. You are generating a written description of an image—a concept brief that is precise enough to feed into an image model without ambiguity.
Feed ChatGPT your copy section and describe your moodboard references in prose. The prompt structure:
I'm creating an advertorial for a hair loss product that blocks DHT. Here's the section:

[Paste 1–2 paragraphs of copy]

Moodboard references:
- Image 1: 3D render of DHT molecules attacking hair follicles, medical/lab style
- Image 2: Before/after scalp photo with subtle medical overlay
- Image 3: Scientific diagram showing blocked DHT pathway

Generate 3–5 image concepts that match this style. Make them persuasive for
direct response — focus on the transformation and the science. Include
composition, colors, and realistic details.
A strong output looks like this:
Concept 1: Split image — left side shows red DHT particles attacking a hair follicle (chaos, thinning). Right side shows green protective barrier blocking DHT (healthy regrowth). Blue medical background, photorealistic. No text overlay.
Pick the best 1–2 concepts to actually build. The others are backups for round two of testing.
Skipping from "moodboard" to "generate image" produces generic output because the model doesn't know which claim it's illustrating. The concept brief forces specificity—composition, colors, emotional register, absence of text. That specificity is what separates a usable asset from a fourth-rate stock photo.
Step 4 — Create rough images via ChatGPT
Take the written concept from Step 3 and use it as your generation prompt. The template:
Generate a photorealistic image based on this concept:

[Paste the concept from Step 3]

Style: Medical illustration, high-resolution, clean like stock photos.
Colors: Cool blues and greens for trust, red for threat/urgency.
Centered composition, no text.

Make it look like something from a health journal or professional ad —
evoke both urgency and hope.
Practical notes from running this workflow:
- Run the prompt 2–3 times. The first output is often too cartoonish. The third pass is usually closer.
- Add "hyper-realistic" or "like a scientific journal photograph" if it keeps drifting toward illustration.
- Do not spend more than 10 minutes here. You are buying a starting point, not a finished asset. Perfecting it now is wasted effort before the Gemini refinement pass.
The rough image will have the right composition and emotional register but lack the surface detail that makes clinical imagery feel credible. That gets fixed in the next step.
Live today.
The full campaign — copy, images, targeting — generated for your site and deployed paused for your approval.
Step 5 — Refine via Google Gemini
Google Gemini handles reference-image-guided refinement better than ChatGPT for this specific use case—when we tested both tools on the same rough draft, Gemini produced more consistent surface realism when given a moodboard image alongside the prompt. Upload your rough draft alongside your moodboard references.
Refine this image to be more realistic and professional.

[Upload ChatGPT rough draft image]

Original concept: [Paste concept]

Make it look like a real medical diagram from a health ad — sharp details,
accurate anatomy, subtle lighting. Match the style of these references
[upload or describe moodboard images].

Add emotional pull for direct response — subtle tension on the problem side,
resolution on the solution side. No text overlay.
What Gemini adds in this refinement pass:
- Surface realism — skin texture, cell wall detail, lighting consistency
- Color coherence — the palettes from your moodboard get applied with more fidelity
- Compositional tightening — elements that felt slightly off-center get corrected
Run one more round if the anatomy is still wrong (a common failure mode in cellular/molecular renders). If after two Gemini passes it still looks wrong, go back to Step 3 and write a different concept. Some visual ideas are easier to describe than to render; don't fight a bad concept, replace it.
Step 5a — Compliance check before you publish
This step sits between refinement and deployment because supplement advertorial images have specific failure modes that are cheap to fix now and expensive after launch.
Meta's actual policy constraints (Meta Advertising Policies, Section 12):
- Before-and-after images are prohibited in health and wellness ads—including AI-generated ones. The policy targets the claim type, not the production method.
- Images that imply a guaranteed health outcome (a "100% regrowth" visual, a "completely blocked DHT" diagram presented as a promise) violate both Meta policy and FTC guidance on health claims.
- Exaggerated body transformations are banned regardless of whether they're photographs or renders.
What you can show instead:
- A mechanism-of-action diagram that illustrates how an ingredient works without claiming a specific outcome—"this is the DHT pathway" rather than "this is what your scalp will look like."
- A scientific or molecular render that signals credibility without depicting a named individual's transformation.
- Ingredient imagery (the plant, the compound) with clinical framing.
Quick pre-publish checklist:
- Does the image depict a before-and-after state on a human body? If yes, cut it.
- Does the image imply a guaranteed or specific health outcome? If yes, revise the concept.
- Does the image show an exaggerated transformation? If yes, tone it down or replace with a mechanism render.
- Run the final image through Meta's Ad Review guidance before spending.
If your compliance requirements are strict enough that every asset needs legal review, factor that time into your production estimate from the start. This workflow is fast; legal review is not.
Step 6 — Drop into the advertorial and test
Place the final image in the section it was built for. Then test with discipline.
Practical setup:
- Variant A: original image (or no image if you're launching fresh)
- Variant B: the AI-generated advertorial image
- Run until you have enough impressions to trust the CTR signal
- Measure scroll depth and time-on-page, not just clicks—advertorial images that build credibility affect downstream conversion, not just the click-through rate on the ad itself
When you find a winning image, it also tells you something about which visual angle the audience responds to. That insight feeds back into Step 1 for the next test.
When to use this workflow (and when not to)
Use it when:
- You're in a health, wellness, or supplement category where clinical imagery is the established visual language
- You need to move fast—days, not weeks—and can't afford a designer round-trip
- You're running direct-to-landing-page advertorial traffic where image credibility directly supports a health claim
Don't use it when:
- Your brand has an established visual identity that AI tools will drift away from—logo placement, exact brand colors, specific product shots all require compositing work that goes beyond this workflow
- You need images of real, recognizable people or specific products (AI-generated faces and product renders have accuracy failure modes that create legal and brand risk)
- Compliance review is mandatory for every asset—this workflow produces a reviewable draft faster, but it does not eliminate the review step
The workflow is fast and cheap. It is not infinite in scope.
FAQ
What is an advertorial image and why does it matter for supplements? An advertorial image is a visual element inside long-form, editorial-style ad copy—distinct from a product shot or banner graphic. For supplements, it typically shows a mechanism of action (how the ingredient works at a cellular level), a before-and-after state, or a scientific diagram. Its job is to make a health claim feel credible before the reader consciously decides whether to trust the brand.
Can I use AI-generated images in Facebook ads for health products? Meta's ad policies prohibit before-and-after images and claims that imply guaranteed health outcomes, whether the image is AI-generated or not. The constraint is the claim, not the production method. AI images are generally permissible as long as the content itself complies. Always run your specific images through Meta's advertising policies before spending.
Which AI tool is best for generating advertorial images—ChatGPT or Gemini? Use both in sequence. ChatGPT (DALL·E) is faster for rough concept generation from a text brief. Gemini is better for refinement passes when you need to upload a reference image and edit toward it. Neither is a complete solution alone; the two-step approach produces more consistent results than either tool used in isolation.
How long does this workflow take end to end? With a written advertorial already done, Steps 1–6 take roughly 3–5 hours for a first-time user—longer if compliance review is required. Repeating the workflow for a second or third image set on the same campaign drops to under an hour once you have the moodboard and prompts established.
What makes a supplement advertorial image convert versus one that doesn't? Images that show a mechanism (what's happening inside the body) outperform generic product shots in the proof section. Images that show a negative state (the problem) outperform neutral images in the hook section. The image needs to illustrate the specific claim in the section it sits inside—not just look health-adjacent.
Do I need a paid spy tool, or will the free Facebook Ad Library work? The free Facebook Ad Library is enough to build a moodboard. Its limitation is that you can't filter by engagement or estimated spend, so you have to use run duration as a proxy for performance. Paid tools like Foreplay add that layer of signal and save time when you're working across multiple categories or clients.
What's the biggest mistake people make when generating advertorial images with AI? Generating images before writing copy. When you don't know exactly which claim the image needs to illustrate, you end up with visuals that look generically medical but don't support any specific argument. The image becomes decoration. Decoration doesn't convert; illustration does.
The honest question worth sitting with: if your advertorial images are currently stock photos, you don't know whether the image is hurting your conversion rate or whether your copy is. This workflow lets you isolate that variable cheaply. Run the test before you decide the copy needs another rewrite.
Live today.
The full campaign — copy, images, targeting — generated for your site and deployed paused for your approval.
We build AdControlCenter — AI-powered ad management for anyone running their own ads. We write what we'd want to read: real numbers, no fluff, the things we wish we'd known when we started.
More from the team →Keep reading
All posts →
The 2-edit rule: why your AI ad gets worse the more you tweak it
Every additional edit you make to an AI-generated ad image compounds the model's errors — here's the exact mechanism, and what to do instead.

JSON prompts vs prose prompts: a 50-ad side-by-side test
We ran 50 ad image prompts through Ideogram v3 in both prose and JSON formats — the format that wins depends entirely on the category, and the loser surprised us.
Hands-on: building a logo overlay system that doesn't look fake
Most AI-placed logos look pasted on because they ignore what's already in the image — here's the two-step vision pipeline we built to fix that.